Author: Jase Batchelor
These instructions vary between the 1.4.x and 1.5.x series of boards
The 1.5.x series does NOT require the steps to flash the bootloader
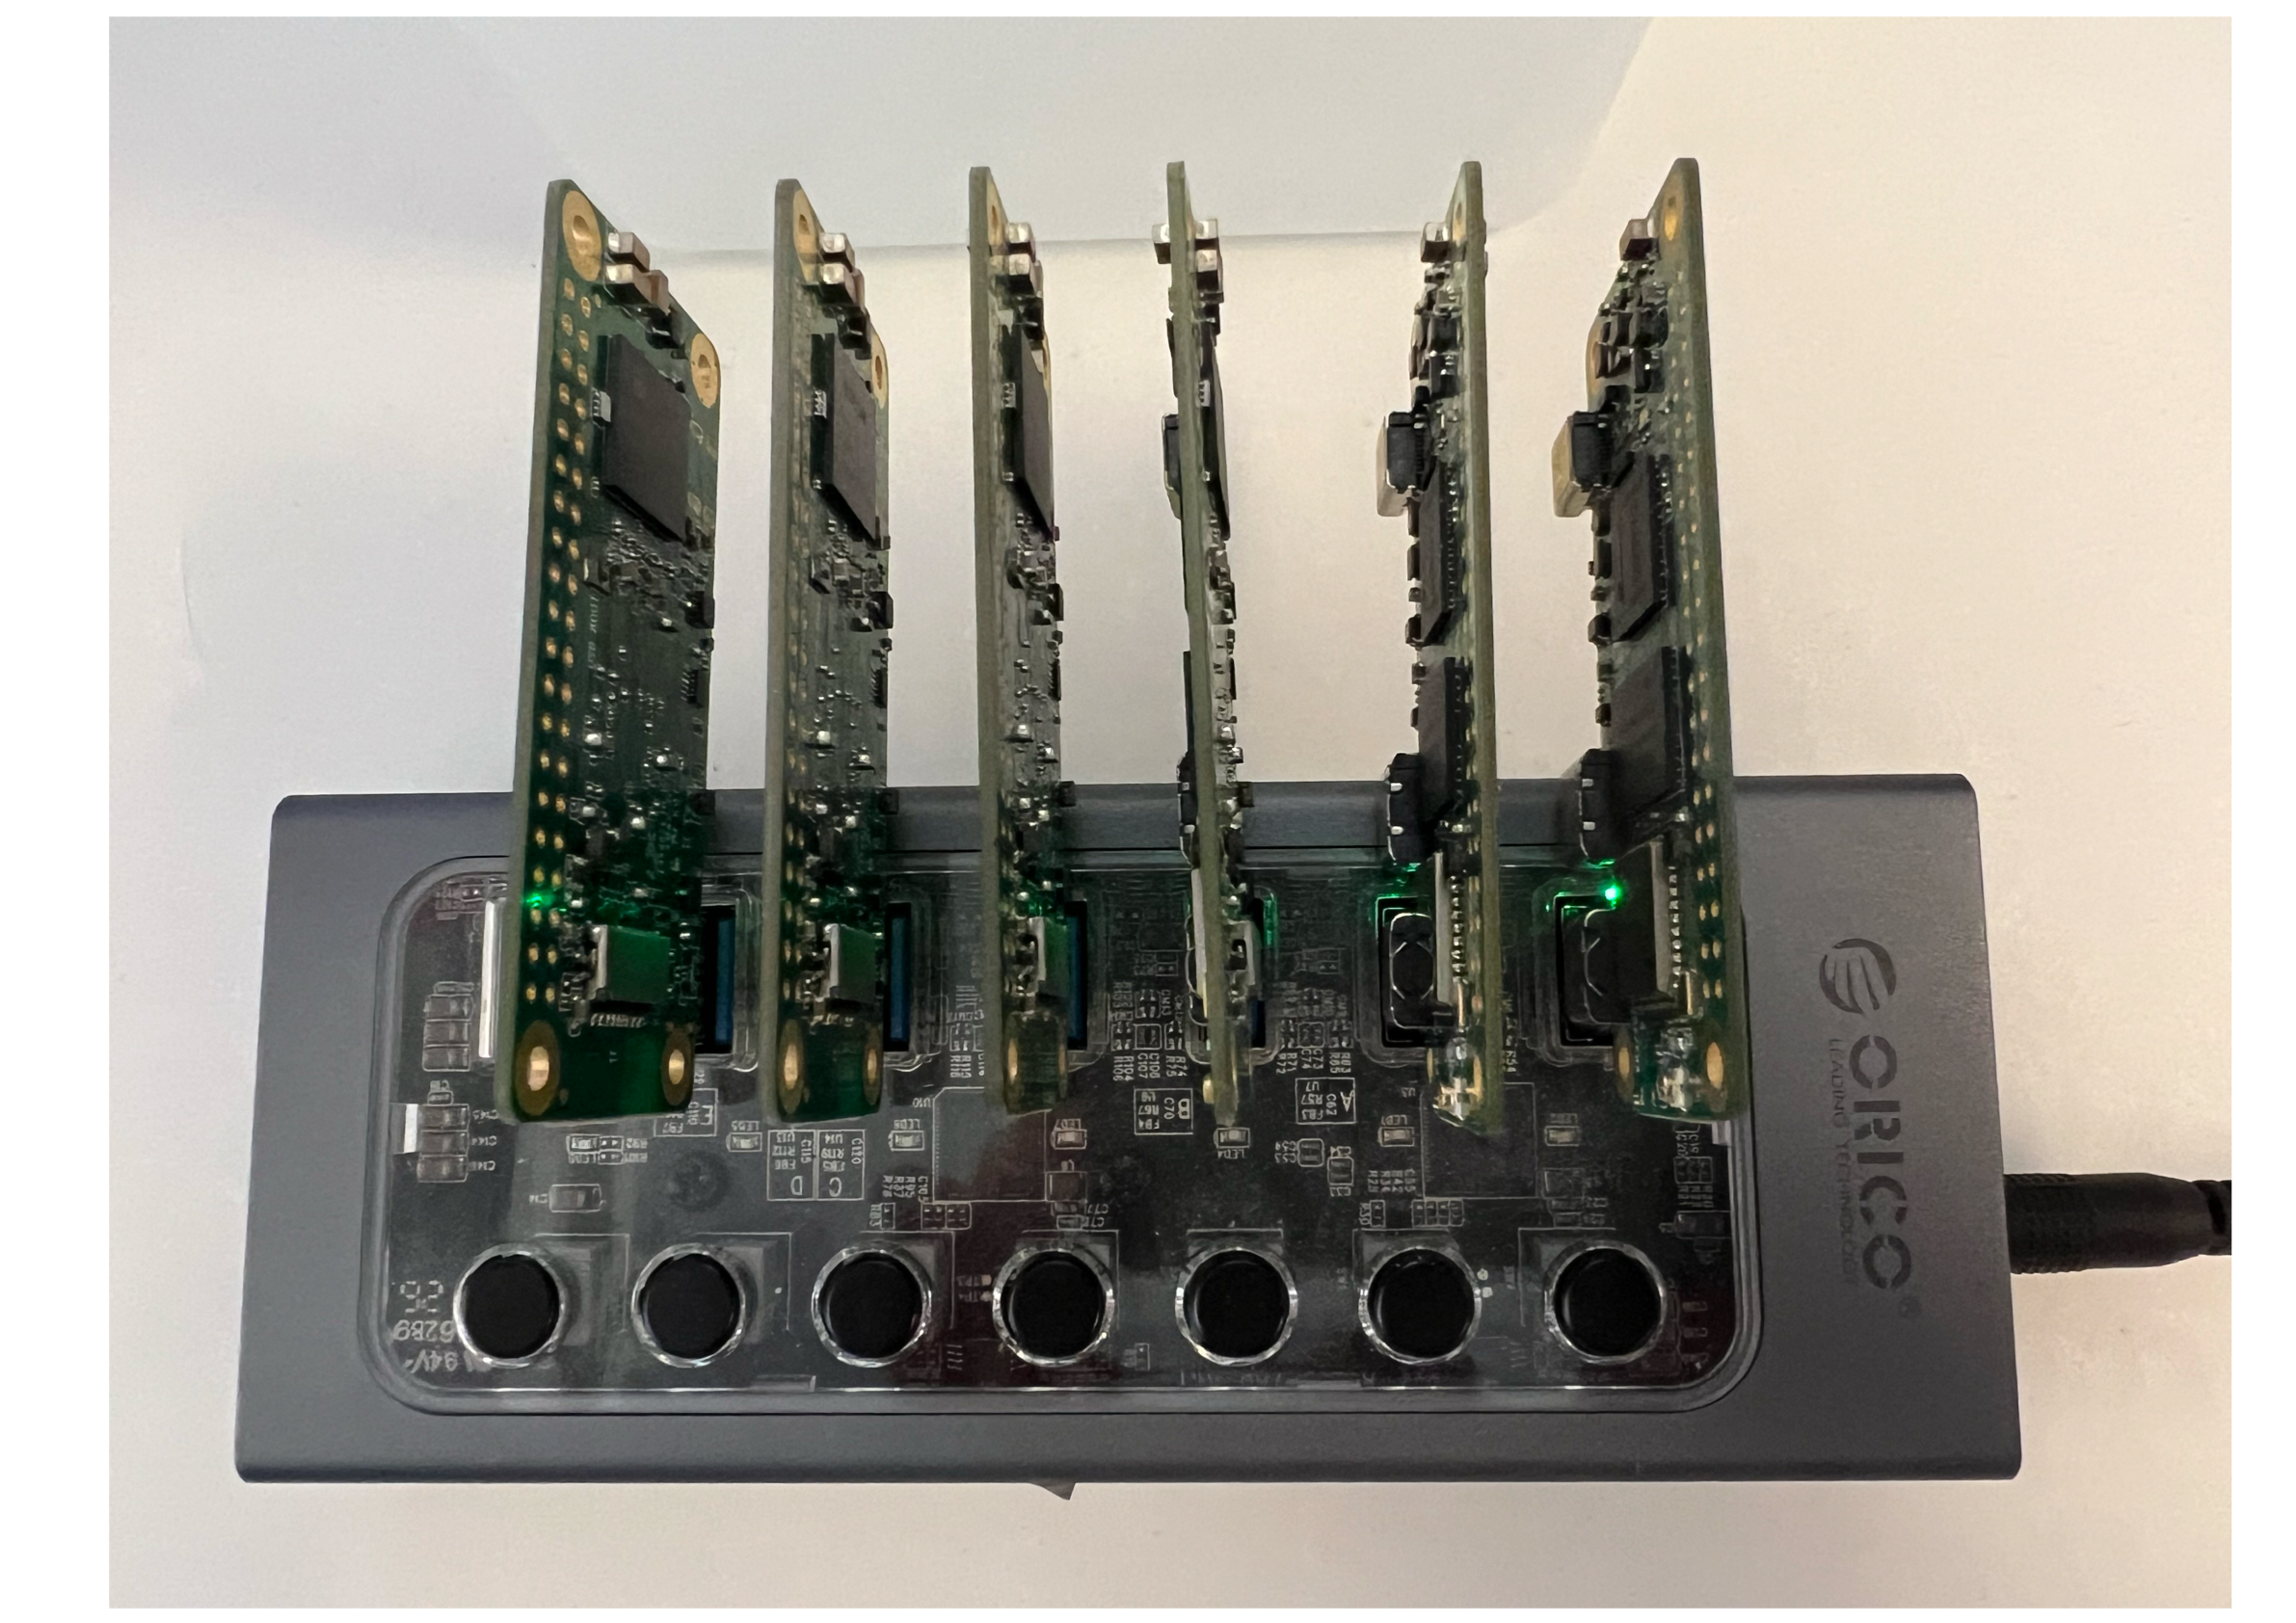
This covers the setup of Radxa Zero single board computers (SBC).
The OS is installed on the eMMC and we use wireless networking.
These boards will be used as follows for the purposes of examples on this site:
- 2 Gitlab runners for CI builds
- Kubernetes cluster
- 1 control plane node
- 3 worker nodes
Sections
Hardware
- Radxa Zero (link)
Optional, but recommended
Prerequisites
Install prerequisites:
sudo apt install python3-pip curl
sudo pip3 install pyamlboot
bash <(curl -s https://raw.githubusercontent.com/corbindavenport/nexus-tools/master/install.sh) --no-analytics
Download utilities from Radxa
wget https://dl.radxa.com/zero/images/loader/rz-udisk-loader.bin
wget https://dl.radxa.com/zero/images/loader/rz-fastboot-loader.bin
wget https://dl.radxa.com/zero/images/loader/factory-loader.img
wget https://dl.radxa.com/zero/images/loader/u-boot.bin
Download OS image
Images available on GitHub: https://github.com/radxa/radxa-zero-images-released/releases/tag/radxa-zero-v20211028
# Credentials: rock:rock
# wget radxa-zero-debian-buster-xfce4-arm64-20220801-0339-mbr.img.xz
wget https://github.com/radxa/radxa-zero-images-released/releases/download/radxa-zero-v20211028/zero_debian_buster_xfce4_arm64_20211028_1030-mbr.img.gz
Balena Etcher
# Note: on M1 based Mac without Rosetta2 use version 1.5.121:
# https://github.com/balena-io/etcher/releases/download/v1.5.121/balenaEtcher-1.5.121.dmg

brew install balenaetcher --cask
Installation
Restart in USB Mode.
NOTE: To verify the Radxa Zero started in USB mode:
lsusb
# Example output. Ensure the result shows `GX-CHIP`
< Bus 020 Device 001: ID 1b8e:c003 Amlogic, Inc. GX-CHIP
Unlock the eMMC
Restart in USB Mode.
Then do this one time only:
lsusb
# Bus 020 Device 001: ID 1b8e:c003 Amlogic, Inc. GX-CHIP

# Unlock eMMC before we can do anything
sudo boot-g12.py factory-loader.img
# Firmware Version :
# ROM: 3.2 Stage: 0.0
# Need Password: 0 Password OK: 1
# Writing factory-loader.img at 0xfffa0000...
# [DONE]
# Running at 0xfffa0000...
# [DONE]
# AMLC dataSize=16384, offset=65536, seq=0...
# [DONE]
# AMLC dataSize=49152, offset=393216, seq=1...
# [DONE]
# AMLC dataSize=16384, offset=229376, seq=2...
# [DONE]
# AMLC dataSize=49152, offset=81920, seq=3...
# [DONE]
# AMLC dataSize=16384, offset=65536, seq=4...
# [DONE]
# AMLC dataSize=49152, offset=393216, seq=5...
# [DONE]
# AMLC dataSize=16384, offset=229376, seq=6...
# [DONE]
# AMLC dataSize=49152, offset=180224, seq=7...
# [DONE]
# AMLC dataSize=16384, offset=65536, seq=8...
# [DONE]
# AMLC dataSize=49152, offset=393216, seq=9...
# [DONE]
# AMLC dataSize=16384, offset=229376, seq=10...
# [DONE]
# AMLC dataSize=49152, offset=245760, seq=11...
# [DONE]
# AMLC dataSize=49152, offset=294912, seq=12...
# [DONE]
# AMLC dataSize=16384, offset=65536, seq=13...
# [DONE]
# AMLC dataSize=1207664, offset=81920, seq=14...
# [DONE]
# [BL2 END]

sudo fastboot flashing unlock_critical
# Password:
# OKAY [  0.549s]
# Finished. Total time: 0.549s

sudo fastboot flashing unlock
# OKAY [  0.037s]
# Finished. Total time: 0.037s
Erase the bootloader
Restart in USB Mode. Then erase the entirety of the eMMC (can be done many times):
lsusb
# Bus 020 Device 001: ID 1b8e:c003 Amlogic, Inc. GX-CHIP

sudo boot-g12.py rz-fastboot-loader.bin
# Firmware Version :
# ROM: 3.2 Stage: 0.0
# Need Password: 0 Password OK: 1
# Writing rz-fastboot-loader.bin at 0xfffa0000...
# [DONE]
# Running at 0xfffa0000...
# [DONE]
# AMLC dataSize=16384, offset=65536, seq=0...
# [DONE]
# AMLC dataSize=49152, offset=393216, seq=1...
# [DONE]
# AMLC dataSize=16384, offset=229376, seq=2...
# [DONE]
# AMLC dataSize=49152, offset=245760, seq=3...
# [DONE]
# AMLC dataSize=49152, offset=294912, seq=4...
# [DONE]
# AMLC dataSize=16384, offset=65536, seq=5...
# [DONE]
# AMLC dataSize=1406320, offset=81920, seq=6...
# [DONE]
# [BL2 END]

sudo fastboot erase bootloader
# Erasing 'bootloader'                               OKAY [  2.254s]
# Finished. Total time: 2.256s

sudo fastboot erase bootenv
# Erasing 'bootenv'                                  OKAY [  0.056s]
# Finished. Total time: 0.058s

sudo fastboot erase 0
# Erasing '0'                                        OKAY [  3.017s]
# Finished. Total time: 3.018s

sudo fastboot erase 1 # Ignore in the event this fails
# Erasing '1'                                        OKAY [  3.017s]
# Finished. Total time: 3.018s

fastboot reboot
# Rebooting                                          OKAY [  0.000s]
# Finished. Total time: 0.000s
Write the OS to the eMMC
Restart in USB Mode.
lsusb
# Bus 020 Device 001: ID 1b8e:c003 Amlogic, Inc. GX-CHIP

sudo boot-g12.py rz-udisk-loader.bin
# Firmware Version :
# ROM: 3.2 Stage: 0.0
# Need Password: 0 Password OK: 1
# Writing rz-udisk-loader.bin at 0xfffa0000...
# [DONE]
# Running at 0xfffa0000...
# [DONE]
# AMLC dataSize=16384, offset=65536, seq=0...
# [DONE]
# AMLC dataSize=49152, offset=393216, seq=1...
# [DONE]
# AMLC dataSize=16384, offset=229376, seq=2...
# [DONE]
# AMLC dataSize=49152, offset=245760, seq=3...
# [DONE]
# AMLC dataSize=49152, offset=294912, seq=4...
# [DONE]
# AMLC dataSize=16384, offset=65536, seq=5...
# [DONE]
# AMLC dataSize=1406320, offset=81920, seq=6...
# [DONE]
# [BL2 END]
#
Click Ignore on popup from MacOS.
Flash the OS image using Balena Etcher.
Alternatively, use dd as follows:
diskutil list
#/dev/disk2 (external, physical):
#   #:   TYPE NAME   SIZE       IDENTIFIER
#   0:              *31.0 GB    disk2

diskutil unmountDisk /dev/disk2
sudo dd if=./zero_debian_buster_xfce4_arm64_20211028_1030-mbr.img of=/dev/disk2 bs=1m; sync
Write the bootloader
Once the image has been flashed to the eMMC add the bootloader:
sudo dd if=u-boot.bin of=/dev/disk2 bs=512 seek=1
Configuration
See the Debian article for WIFI setup using wpa_supplicant
Initial login via GUI with keyboard
Default username and password: rock:rock
- Alt Tab to get focus
- Alt F1 + Fn -> open terminal
Additional configuration
See the Debian article for standard operating environment configuration
LED setup - https://forum.radxa.com/t/led-meaning-of-radxa-zero/9047/10
Specifications
RADXA Zero product details
- Amlogic S905Y2 64bit quad core processor
- Quad Cortex-A53, frequency 1.8Ghz, 12nm
- Mali G31 MP2 GPU, supports OpenGL ES 1.1 /2.0 /3.1 /3.2, Vulkan 1.1, Open CL 1.1 1.2, 2.0 Full Profile
- 64bit dual channel LPDDR4@3200Mb/s, 1GB/ 2GB or 4GB
- Wifi/BT with external antenna support*
- WIFI4/BLE4 and WIFI4/BLE5 available for different models!
- Soldered high performance eMMC 5.1 with capacities of 8GB/ 16GB
- Micro SD card slot supports up to 128G uSD card
- Micro HDMI 2.1, 4K@60 HDR
- HD codec H265/VP9 decode 4Kx2K@60
- USB 3.0 Type-C HOST x1
- USB 2.0 Type-C OTG x1
- Wireless 802.11 ac wifi 2,4/5GHz, Bluetooth 5.0
- Size 66mm x 30mm
Links
-
https://wiki.radxa.com/Zero/install/Boot_Troubleshooting#Modify_bootloader_on_eMMC
-
https://www.pengutronix.de/en/blog/2020-10-15-anpassen-einer-emmc.html
-
https://forum.radxa.com/t/bricked-radxa-zero-invalid-partition-1/7401/5
USB Gadget mode
- https://forum.radxa.com/t/radxa-zero-as-usb-c-gadget-for-ipad-pro/8013/14
- https://github.com/radxa-pkg/radxa-otgutils/releases/tag/0.2.2
- https://wiki.radxa.com/Zero/Linux/usbnet
- https://wiki.radxa.com/Zero/dev/adb
Reviews